Have you ever seen a windowsill with glass jars filled with houseplant cuttings growing new roots?
Every seasoned plant parent reaches a point when they want to start sharing their lush plant life. Eventually we have more foliage than we know what to do with and as we are cutting things back we see opportunity to give instead of discarding our clippings away.
Let’s talk about methods of plant propagation so everyone can share this pure joy our houseplants give.
Houseplant Propagation 101
What is propagation?
Simply put, propagation is the process of plant reproduction. This can happen in one of two ways: sexually or asexually (vegetative). Sexual plant propagation involves the literal birds and bees and results in seed production. Asexual or vegetative propagation can happen in a number of ways utilizing plant cells and growth hormones that have the ability to create new plant parts from the mother plant’s body.
It’s this latter type of houseplant propagation we’re concerned with, a seemingly magical process by which one plant becomes many. Here with a list of tools and tips to get started, along with 3 common methods explained so you can get rooting.
Benefits of houseplant propagation
- Environmentally friendly: When we propagate we are saving clippings from the compost bin – maybe even some empty food jars from the recycling bin – and creating a new plant!
- Save a plant from death: propagation can be used as a last attempt at saving a plant that is dying from mistreatment, pests, or neglect. Collecting rescue plants and clippings from stressed plants creates an amazing opportunity to nurture and love your green friend through difficult times. You will grow a whole new love for that plant as it starts to heal and thrive against all odds.
- Share the love: Consider having a vase full of clippings to give away to friends and family instead of cut flowers that will eventually perish. Decorate with beautiful foliage that will live to grow another day.
- Promote full growth patterns in mature plants: your plants will enjoy being trimmed back as it will encourage them to grow more! Be sure not to trim back more than one third of the foliage.
Materials for houseplant propagation
- Sharp shears or knife: use caution when working with sharp tools
- Glassware, pottery, other containers to be repurposed: the limit is your imagination for what can be used to propagate plants in so get creative!
- Well-draining soil: starting cuttings in succulent soil, sphagnum moss or pumice makes them less likely to rot.
- Isopropyl alcohol: cleaning your tools and containers before getting started with alcohol will prevent unwanted bacterial growth and pests
- Rooting hormone: a helpful boost to speed up the rooting process and give your cuttings a better chance for success
- Activated charcoal: Added to glass containers and soil in order to absorb excess soil moisture and prevent bacterial growth in water.
- Gardening gloves: always helpful to have on hand
- Watering can: what plant project doesn’t require one of these on hand
- Root Nurture Grow: An incredible resource and work of art to complete any library collection.
Words of Wisdom - 3 Houseplant Propagation Tips
Tip 1: It is important to remember that there is no wrong way to propagate. Research methods that work best for your specific plants and then experiment with them! Approach this process with curiosity and excitement and we think you will be pleasantly surprised.
Tip 2: You will increase your chances of successfully propagating your houseplants if you do so in the spring and summertime. This is the time that plants are actively growing, and will produce new roots much more readily
Tip 3: Water succulents a few days before propagating them so they have water in their leaves when you start, and avoid propagating plants recently fertilized.
Houseplant Propagation Methods
Method 1: Rooting in Water

Water rooting is perhaps the easiest and most common way to propagate most of your houseplants. We are able to propagate plants in water because the cuttings will draw in oxygen and supplemental nutrients from the water while being supported by the vessel.
The cuttings are then able to develop aquatic roots or roots adapted to a very wet environment. Once these roots are formed it is important to keep soil moist when transferring from the aquatic environment to a more terrestrial environment or a pot of soil.
Here is an example of how to root the common houseplant Heartleaf Philodendron (Philodendron hederaceum) in water:
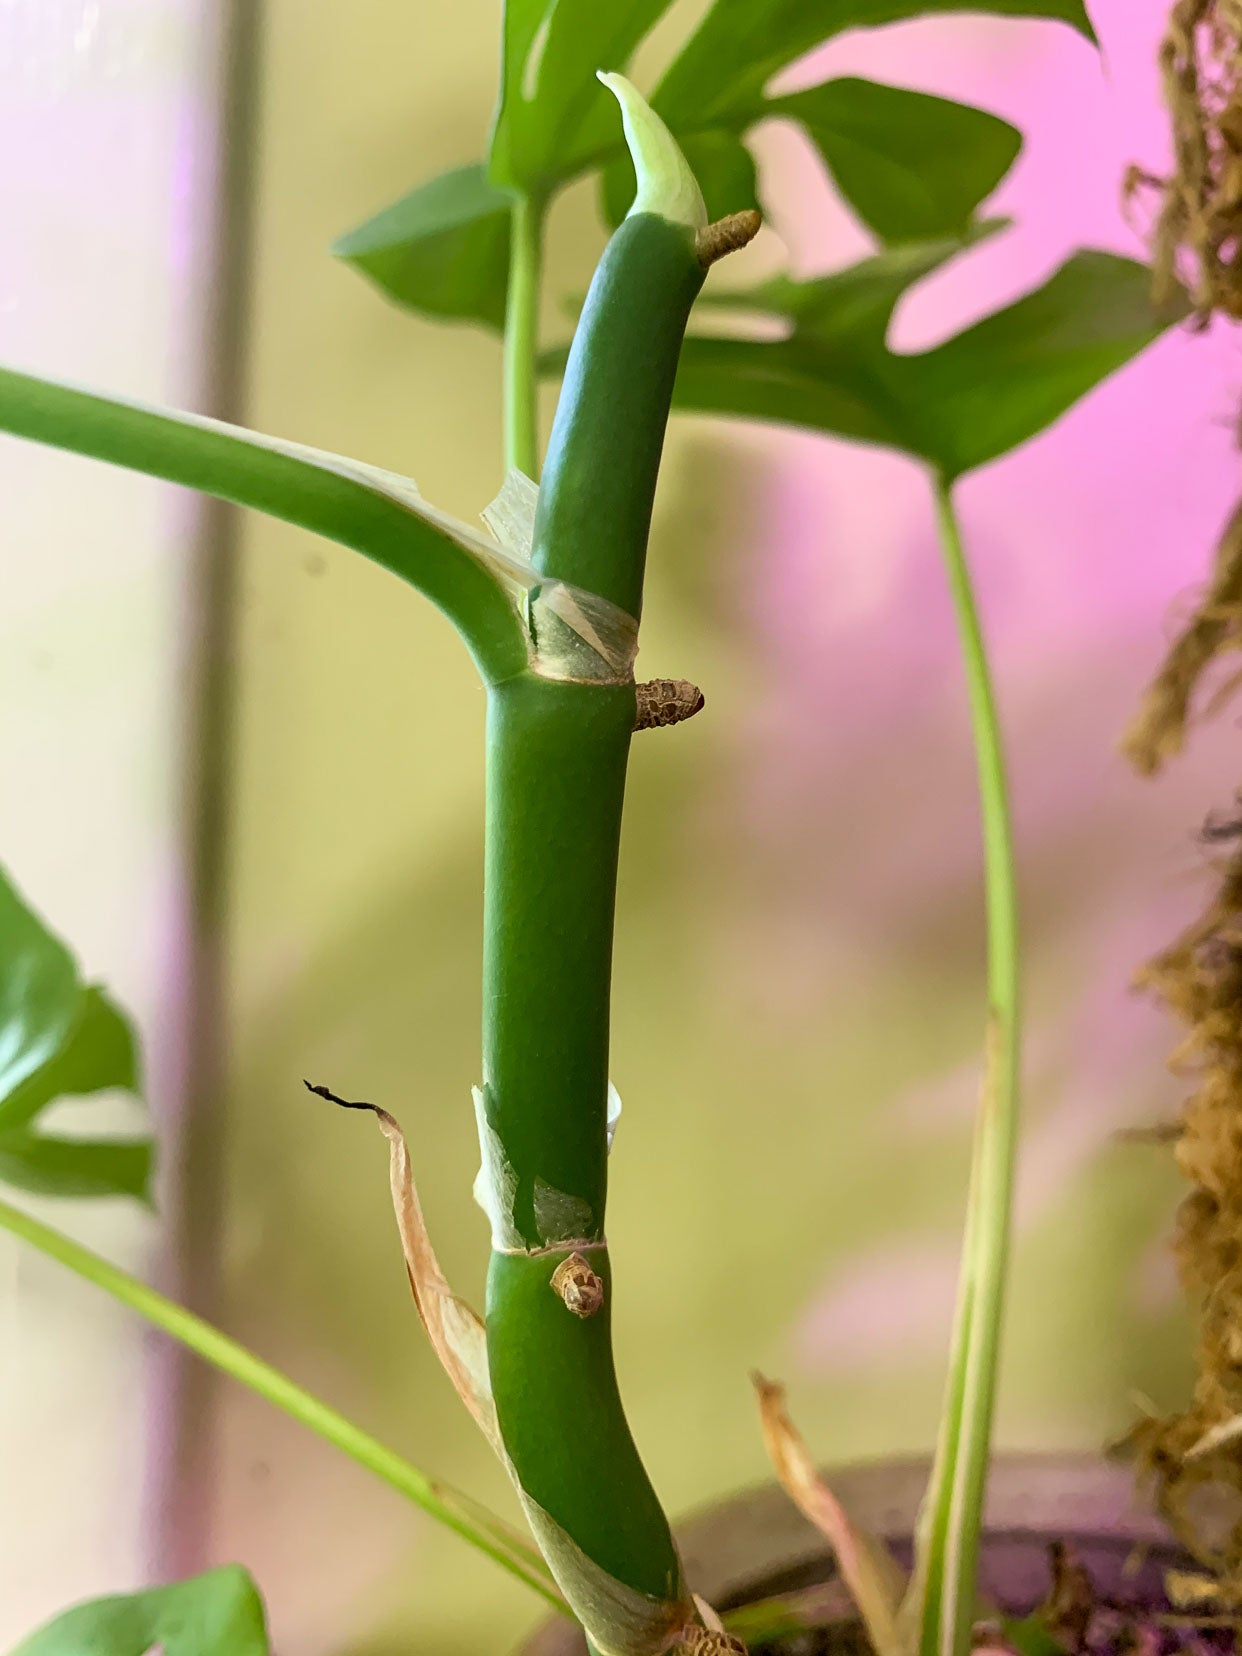
- Identify new growth leaves and the nodes those leaves are attached to. New growth will be at the end of the vine, smaller in size, and a lighter shade of green. The node or point of growth will be a cute little elbow or nub from where the leaf meets the stem, and this is where your roots will grow from.
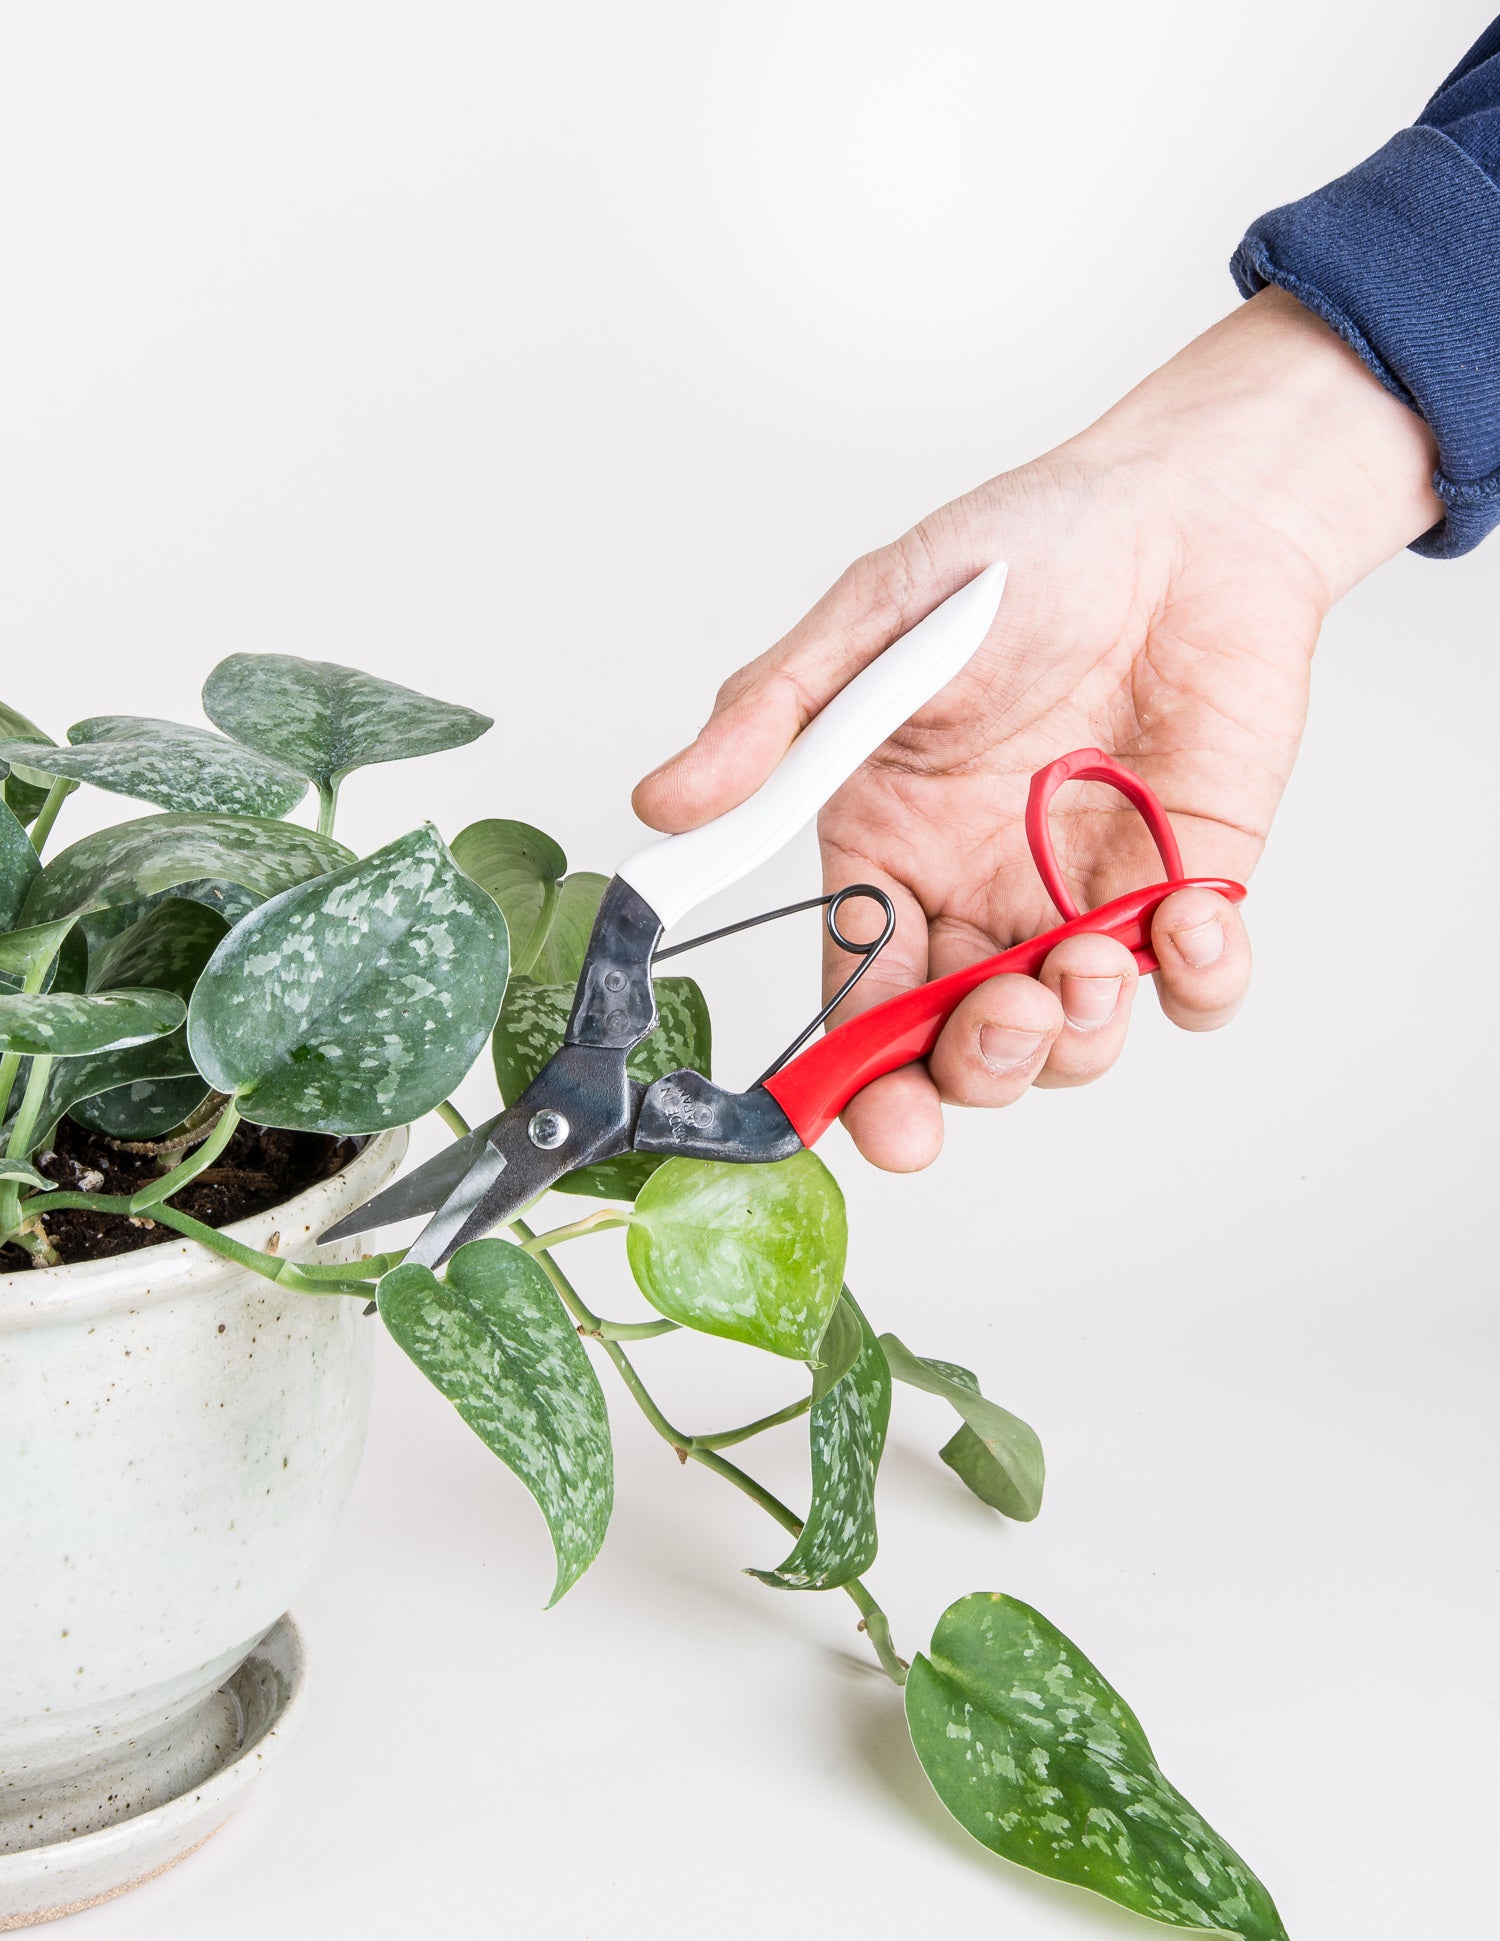
- Take a cutting with newer leaves and at least one node. Dip it in the rooting hormone and place in water.
- Put your clipping in a warm place with bright indirect light. Change out the water once a week adding a small scoop of activated charcoal if desired at the bottom, and watch your roots begin to grow!
- Once roots are about an inch or so long, transfer to soil. If your cutting roots in water for too long, it will be less likely to transition well to terrestrial life.

The node of this Raphidophora tetrasperma can be identified by the bumps (roots) near where the leaf meets the stem
Method 2: Rooting in Soil
Rooting in soil is the same as rooting in water except the roots will be developing in a more terrestrial environment and you will not be able to actually see the roots as they develop. The key to rooting clippings directly into the soil is a balancing act of soil moisture level.
You want to find that sweet spot where the soil is adequately moist but not too wet. If the soil is too wet it can rot the cutting before the roots have a chance to develop. Adding activated charcoal to a well-draining soil and being cautious when watering is a good start to this method. Here are some examples of plants commonly rooted in soil:
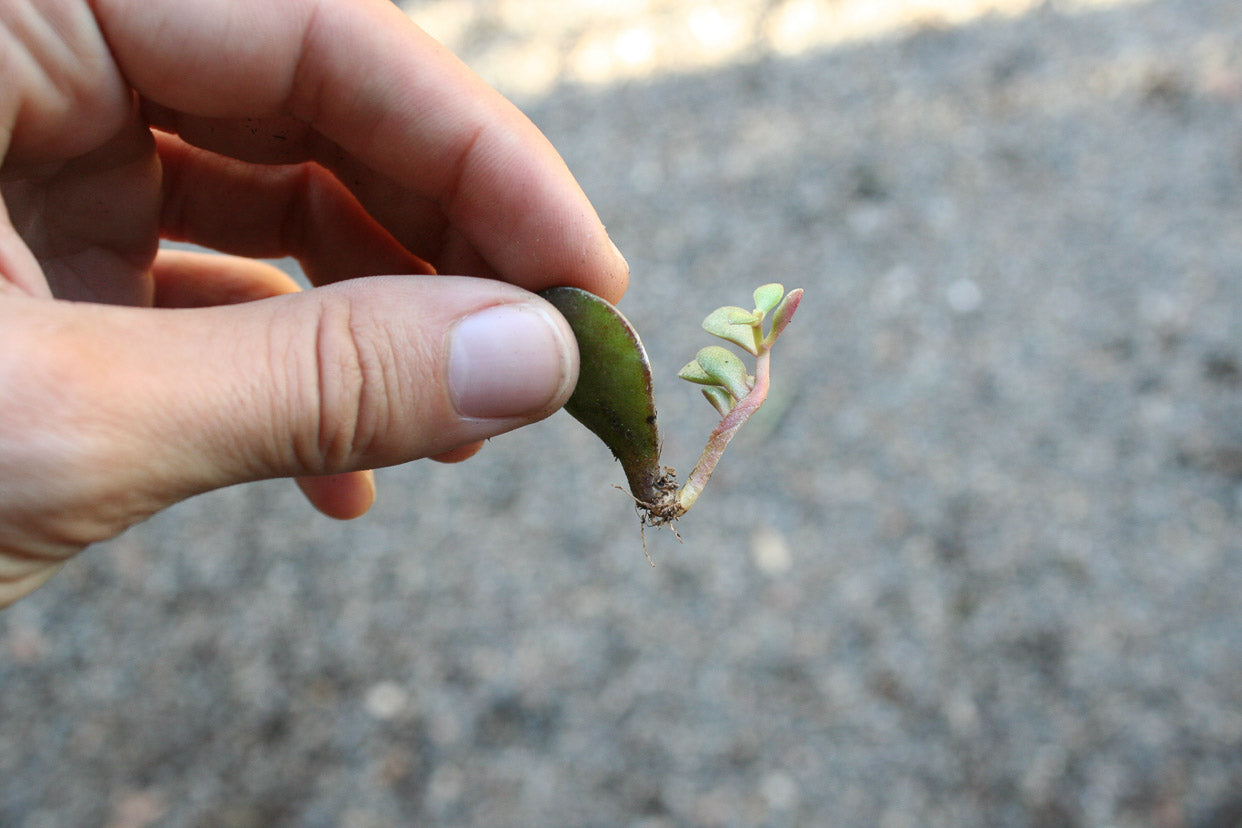
Snake plant (Sansevieria aka Dracaena sp.): You can actually take leaf cuttings from Snake plants and root several at once!
- Cut a healthy-looking leaf at the base of the plant in a straight line with a sharp knife or shears.
- Mark a horizontal line with a marker ever 3-4 inches up the leaf blade.
- Taking note which end is up cut along the marked lines and plant the cut squares into soil bottom side down.
- Cut whole leaves off mother plant (4 per stem)
- Lay leaves on top of a pot of soil like they are sunbathing on top of the soil
- Mist the pot to keep soil moist and wait for roots to grow
- Once roots appear pot the leaves into the soil

Method 3: Root Division
Root division is simply dividing the roots of your mature plants, when there are multiple plants per pot or the plant has produced an offset or “pup”. It is best to use this method when your plants are in need of being repotted and have crowded roots in their pot.
Many tropical plants purchased from nurseries, like Monstera deliciosa, will typically be planted with multiple plants in the same pot which lend themselves well to division! Others, like Pilea peperomioides, readily produce “pups” which can be cut away from the main plant and propagated using one of the methods above.
Keep in mind that when working with roots you should apply a gentle touch taking your time to detangle and trim. Your plant may exhibit signs of stress after repotting or root division, this is normal behavior! The most common way plants fail is from overwatering because we tend to want to ‘help’ them in times of stress with more water than they know what to do with. So, if your plant is stressed after repotting, be patient and water as normal.
To divide plant roots:
- Take plant out of pot and gently loosen soil around roots.
- Find a natural point of separation between the plants in the pot, and gently pull apart roots or cut with a sharp knife. If you are separating a “pup,” you may need to cut it away from the mother plant. Take care not to damage more than one third of the plants roots
- Repot each new separation into its own pot!
We hope this propagation guide has sparked some inspiration with plants at home to root and share the joy of lush green life. For more in-depth explanations of propagation methods, DIY projects, tips, and beautiful photographs give the book Root Nurture Grow a read, we highly recommend it. Here at Pistils we are all rooting for you.
Words by Brittany Oxford


